DIY Wood Photography Backdrops | Sarah Kane Photography
Here's an inexpensive DIY wood photography backdrop that costs under $100! It's so easy I made it myself and use d a circular saw for the first time (and all of my fingers and toes are intact). There are many ways to make these, but this is the route that I chose, so let's get to it!
Materials Needed:
Circular Saw, (16) 8 ft solid wood planks (the kind that snap together) cut in half, (4) 1 in x 2in pieces of wood cut to size (see below) white paint (or stain of your choosing) nails, hammer, paintbrush
FIRST

Cut your wood planks in half using the circular saw. You can actually cut right through the package and cut all of the pieces at once to save time and ensure they are all the same length.

Both of these products are exactly the same. One was purchased at The Home Depot and the other at Lowes.
NEXT
Lay your wood planks out the way you want the final product. You don't have to snap them together just lay them close. I chose to put 14 pieces on one board and 18 pieces on the other so that the bottom half would be longer (this allows me to bring my subject farther from the background if I want more of a solid wall look).
Once your planks are laid out take your (4) 1in x 2in pieces of wood and space them out on your planks. Next your going to mark with pencil where you will cut the 1in x 2in wood. I chose to leave the top and bottom pieces longer so I had something to grab onto, but I don't know if I would do that again. I would recommend cutting them so they do not show past your wood planks.

Once your wood is cut lay your 1in x 2in pieces out like you had them on the planks (shown in image above) only not on top of the planks this time. You are now going to nail the planks down to all 4 wood pieces one at a time.

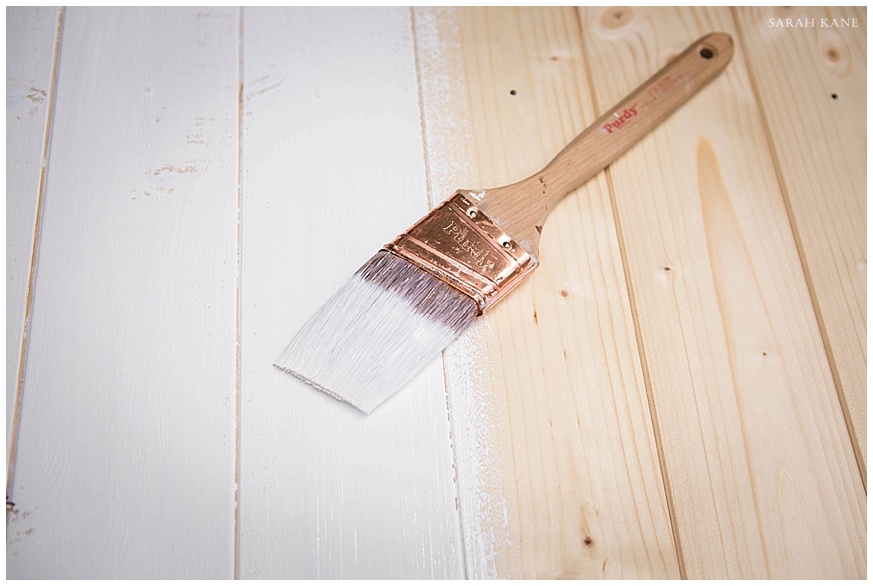
Once they all laid you can paint. If you are painting or staining one solid color you can stain before or after you nail the planks. If you are using multiple stains I would stain first.
That's it! you can see my finished products below!

I also made a multi colored one!
