Photography DIY Valentine's Day Box Of Chocolates | Ideas For Valentine's Day Photo Shoots
Photography DIY Valentine's Day Box Of Chocolates | Ideas For Valentine's Day Photo Shoots

In the ever-evolving world of photography, one thing remains constant: the pursuit of uniqueness. Photographers continually strive to capture moments that stand out, resonating with viewers on a deeper level. While skilled composition, lighting, and technique are essential, one often overlooked aspect that can elevate a photoshoot to new heights is the strategic use of props.
Although I did not invent this idea (thank you, Pinterest), this is unique to my clients. The best part is it only took a few hours to make. The longest part was waiting for the paint to dry. In this blog post, I’m going to show you step by step how to make this adorable and unique life-sized box of chocolates that your photography clients are going to love!
I tried to take a shortcut and purchased the heart box from Amazon, but sadly, when it arrived, it was too small. It was only $20, so I decided to keep it and use some of the parts to make my own. For the base, I used a white hardboard from Home Depot that I already had using it under my seamless paper so that the grooves in my wood floor don’t crease through. If you plan to keep the prop for several years, I recommend using something like this so it’s nice and sturdy. You could also use cardboard or foam board.
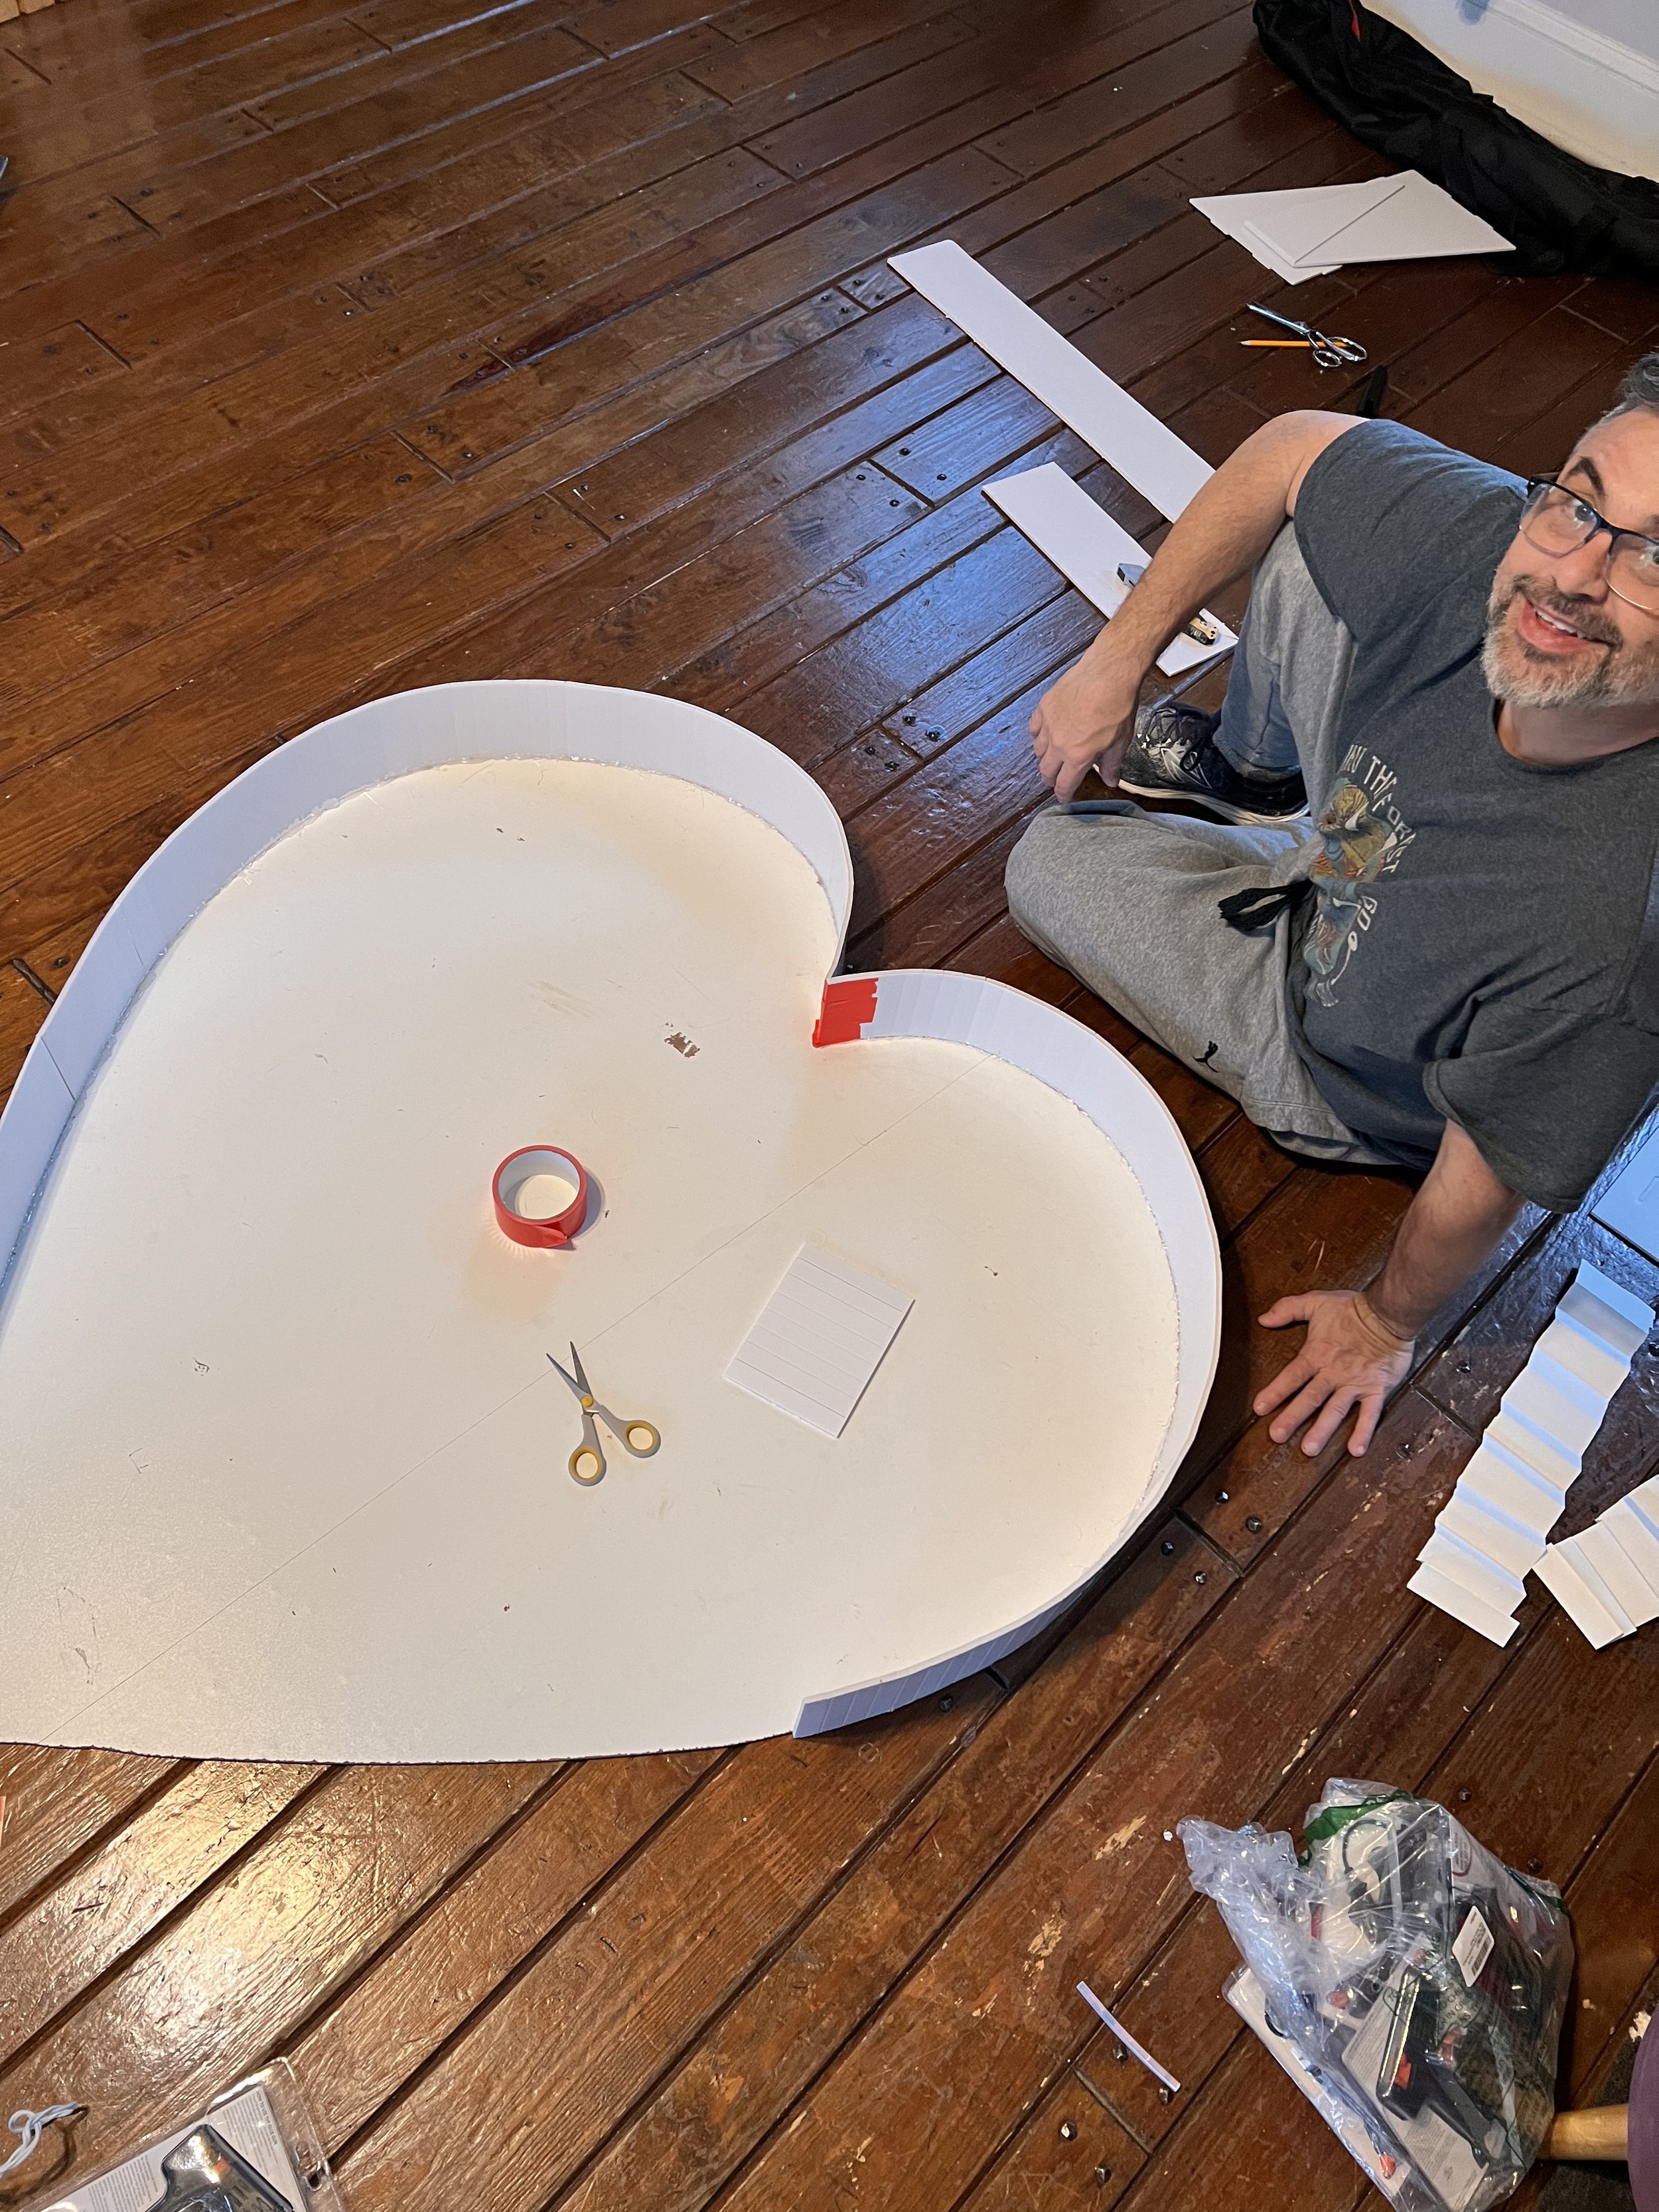
Next, my helper John placed the smaller Amazon heart onto the hardboard, took a piece of wood that was the desired length of the new heart, and used it as a compass to draw the larger shape (you will need to use a hand saw to cut through the hardboard).
We then took the edging from the Amazon heart, which appears to be foam board. The foam board already was cut with vertical slices so it will bend easily. You can make your own just make sure you don’t slice all the way through, but just enough that you can easily bend the board to make the curve. I would make your cuts using a utility knife and about 1 inch apart for the upper part of the heart that is very curvy. You won’t have to make any cuts for the straight edge of the heart. You can also use cardboard, which is more flexible, but likely won’t keep its shape as long, especially if you have toddlers grabbing at it.


Once you have your heart cut out and your edges made you will want to glue the edges on. We used a lot of hot glue and it worked great! Be sure to hold each section in place until it drys.

Now that you have everything glued on spray paint your heart so it can dry while you make the other props.


While your heart is drying you will want to spray paint your candies. The original post I saw used balloons. I tried this, but noticed that they were starting to deflate a bit. Since I wanted to use this all week I needed something that would hold it’s shape longer. I went to Dollar General hoping to find 6 inch bouncy balls. They didn’t have any, but they did have heart balloons on a stick. These balloons are heat sealed and will hold air forever. The stick came in handy while painting too. I was able to stick it into a log and get all sides of it.
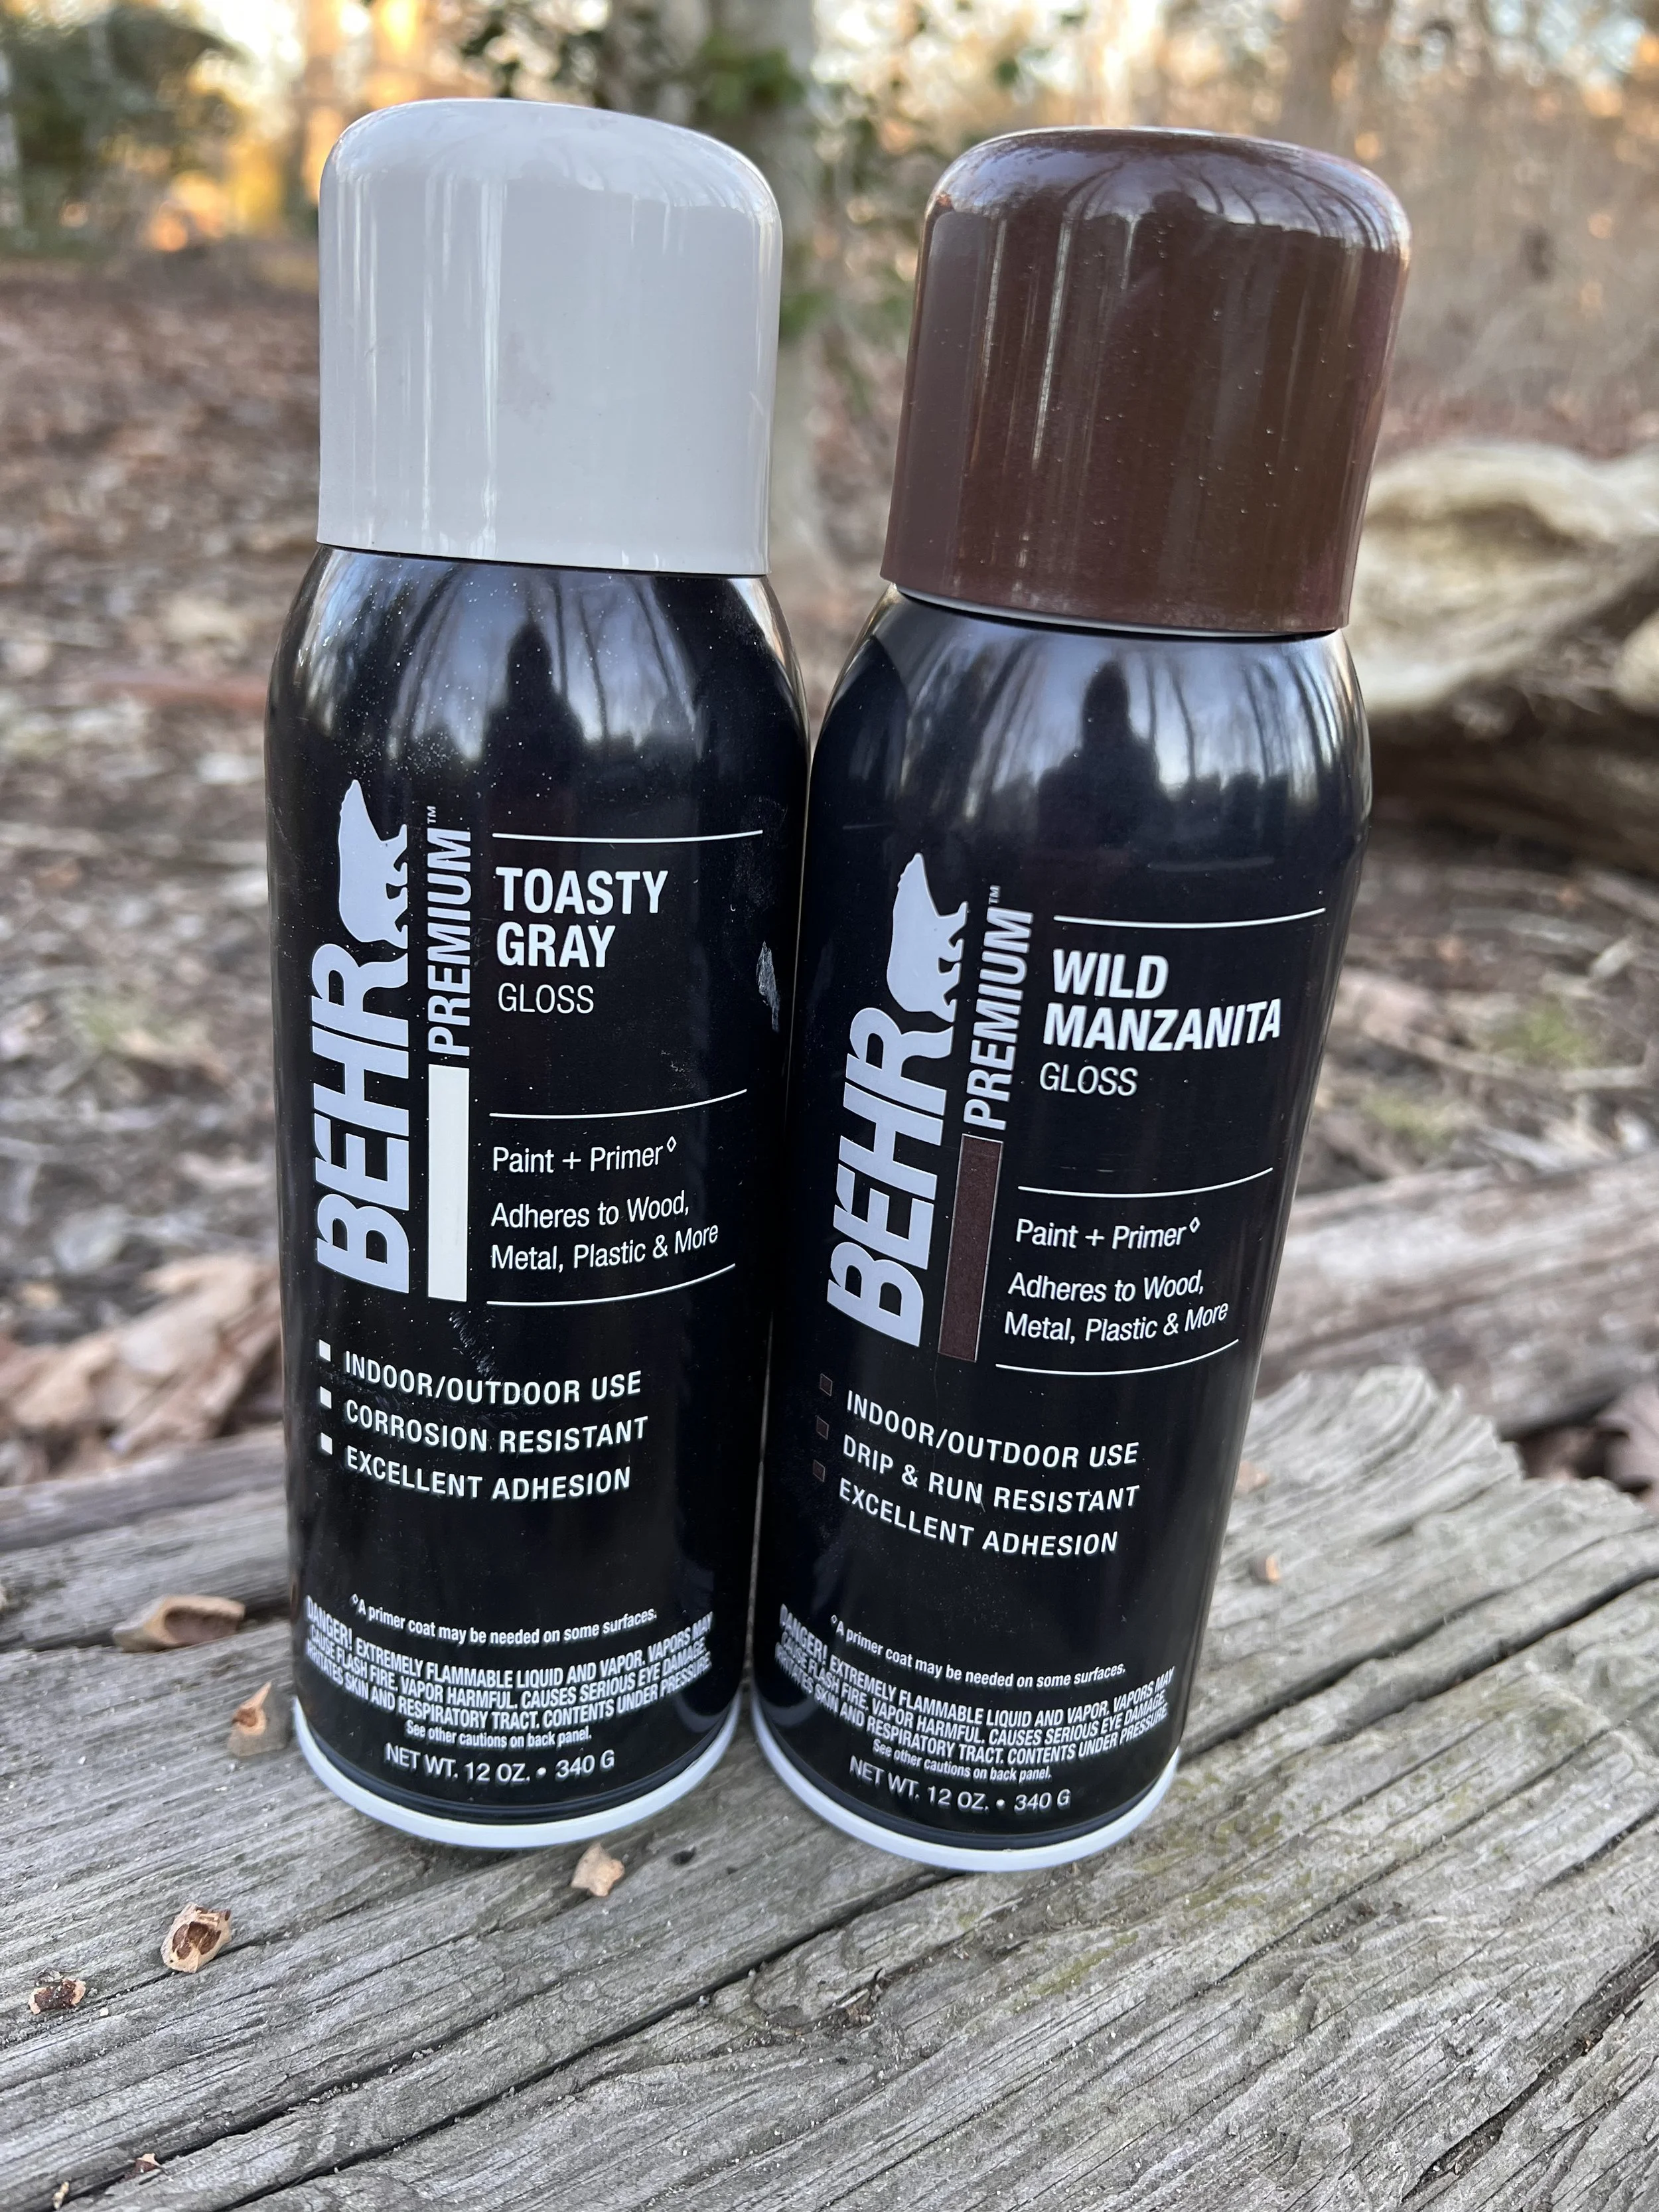
I chose to colors a white for white chocolate and a dark brown for milk chocolate. Make sure you get a glossy paints to give it a more smooth look.
NOTE: the pray paint started to pearl off of one of the balloons that a toddler kept grabbing. This is something to be aware of. You don’t want them eating paint! (see image below).

While the balloons are drying make your paper wrappers. I bought a book of white construction paper at Target for $5. Use your candy prop to measure how tall you want your wrapper to be. Cut vertical strips long enough to wrap around your candy. Once you have your strips cut fold them into a fan. Open your fan and wrap it around your candy taping it or glueing the ends so it stays together (I recommend also gluing it to your candy. I did not do this at first and the toddler kept kicking them and grabbing them loosening the wrappers.


For the icing swirl on top of the candy I used white and dark brown puffy paint that I purchased from Michael’s. I’m sure any craft store will have it. You’ll find it by the T’shirts.

That’s it, you’re ready for your photoshoot!
NOTES: Make more candy then you think you’ll need. I did not make enough and with smaller kids the box looked empty. Also, be prepared for some of your candy to get destroyed, so you’ll want to have extra to replace them. I would also recommend having something for the kids to hold, so they aren’t grabbing at your candy props.
